This post shows you how to customize the embedded reviews from MagicRating.com
1) Log into your MagicRating.com account
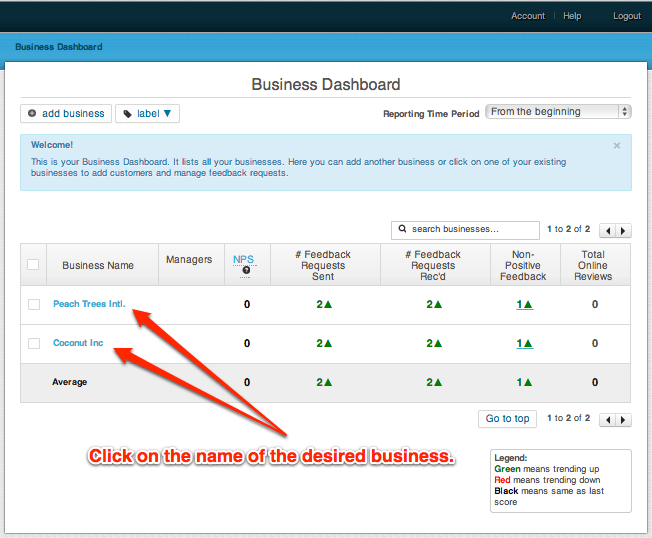
2) Click on the Business you would like to customize the reviews for.
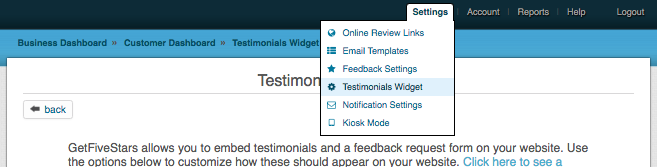
3) In the main menu (upper right) click on “Settings -> Testimonial Widget”
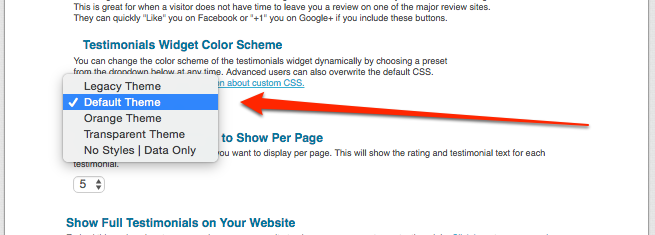
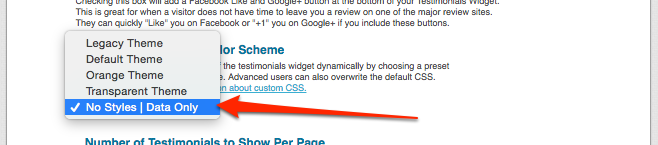
4) Pick a color scheme from the “Testimonials Widget Color Scheme” drop-down.
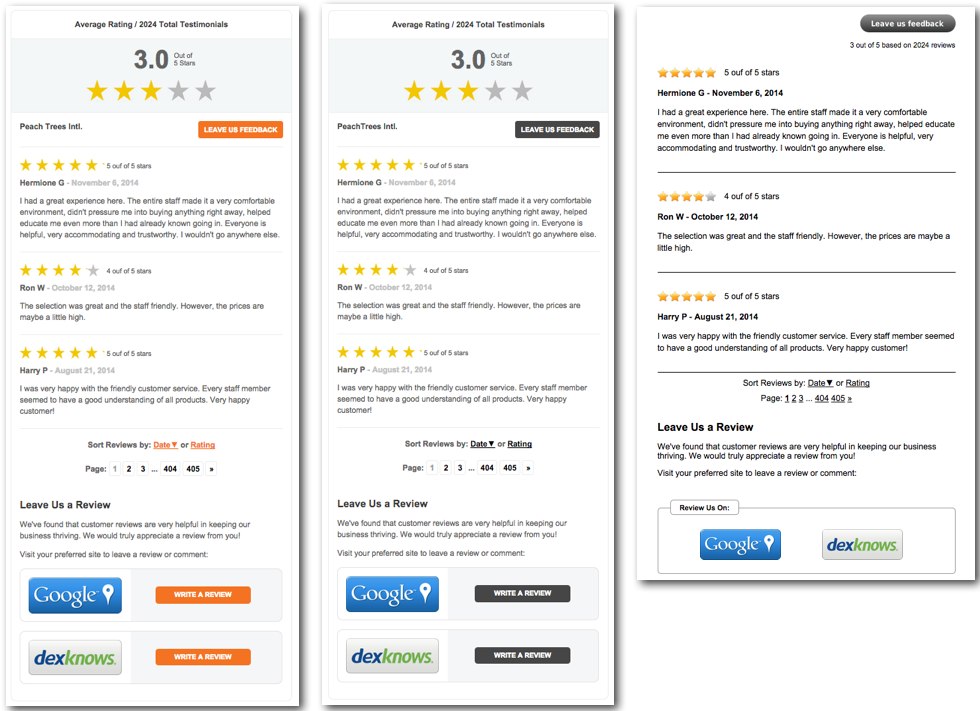
5) Preview of each color scheme. Left: Orange | Middle: Default | Right: Legacy
Advanced Customization using CSS
In addition to choosing a color scheme as described above you can also add your own custom CSS. The following is intended for users with good CSS and HTML knowledge. Please contact your webmaster if you are not sure how to access or use your websites CSS file(s).
Any pre-build color scheme (Default, Orange, Legacy etc) can be overwritten locally with CSS. If “big” changes are required we recommend using the “No Style | Data Only” scheme option. As the name implies no styles will be included with the testimonials widget allowing you to add your own even more easily.
1) The MagicRating Widget has several different div classes. All of which can have their own css applied on your end and which will overwrite the “out of the box” defaults.
2) The maximum width of the responsive MagicRating widget is by default 500px.
3) To identify desired div classes we recommend using the “Inspect Element” option in your Chrome browser or the “Firebug” Add-on for Firefox.
4) Below are a few common examples. Please note that the examples are *not* a complete list of all CSS classes found in the MagicRating Testimonial Widget. Refer to item #3 above on how to identify all classes in order to modify them to your needs.
Color CSS – Use a hex color number of choice. Example: #ccc
#e2wget5widget {color: #____ !important;}
[Note: Above code applies style to entire widget. Alternatives below.]
#e2wget5widget h2 {color: #____ !important;}
#e2wget5widget h4 {color: #____ !important;}
#e2wget5widget p {color: #____ !important;}
#e2wget5widget a {color: #____ !important;}
Font Family and Font Size CSS
#e2wget5widget {font-family: #____ !important; font-size: __px !important;}
[Note: Above code applies style to entire widget. Alternatives below.]
#e2wget5widget h2 {font-family: ____ !important; font-size: __px !important;}
#e2wget5widget h4 {font-family: ____ !important; font-size: __px !important;}
#e2wget5widget p {font-family: ____ !important; font-size: __px !important;}
#e2wget5widget a {font-family: ____ !important; font-size: __px !important;}
Width CSS – Insert a width in Pixel of choice. Example: 700px
#e2wget5widget {max-width:____ !important;}
#e2wget5widget span.e2whr{max-width:____ !important;}
#e2wget5widget .e2wdescription p {max-width:____ !important;}
Changing the “Leave Us Feedback” image button (“Legacy” Color Scheme only).
Click here to see the “default” feedback request image as reference for creating your own.
.e2get5writeReviewLink {background: url(‘http://www.your-domain.com/feedback-request.png’) no-repeat !important;}
Other Color Schemes (Default, Orange and Transparent etc) are using CSS3 to create the button. The div class .e2get5writeReviewLink remains the same however.